Scheduling using the ShowingTime Mobile App (Agent Only)
Scheduling on your own listings
Step 1
From the menu of the app, choose Schedule a Showing.
Step 2
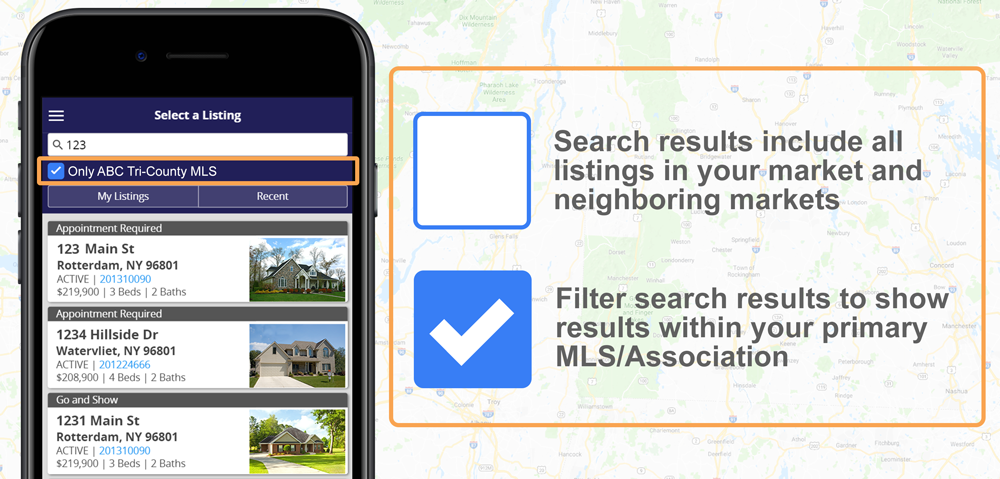
Choose the listing you want to schedule on. You can select a nearby listing or start typing to see all the listings.
Note: You can choose to limit the search to just local listings. Check the box if you want to search only for listings within your MLS or leave it unchecked to see listings in all neighboring MLS's.

Step 3
Choose to add a buyer if you want or Skip it.
Step 4
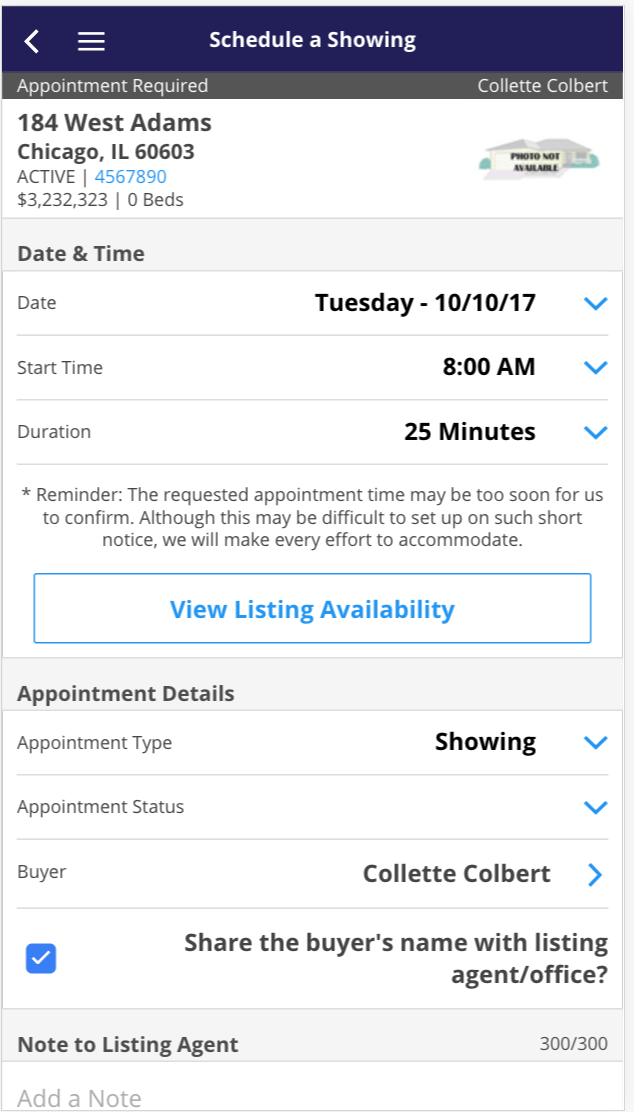
Choose the date and time for the showing.
Step 5
Send a note to the listing agent or choose additional settings.
ShowingCart
Functionality to schedule a buyer's tour through ShowingCart on the ShowingTime mobile app is planned for future release. To learn more about the current ShowingCart view on our mobile app, please review the link below.
Mobile ShowingCart
On Behalf of Another Agent
If you need to log an appointment that was not made using the traditional scheduling avenues, this will show you how to log an appointment and what options are available to you by doing so.
Note: Feedback is sent when you schedule on behalf of another agent.
Appointment Actions
Proposing a New Time can be useful for those last-minute situations. The buyer's agent, listing agent, or seller (if enabled) can click the button on the appointment confirmation screen to start the process.
Read More
Canceling an appointment will automatically send notifications to the listing side and showing side to inform all people involved.
Other Appointment Card Features
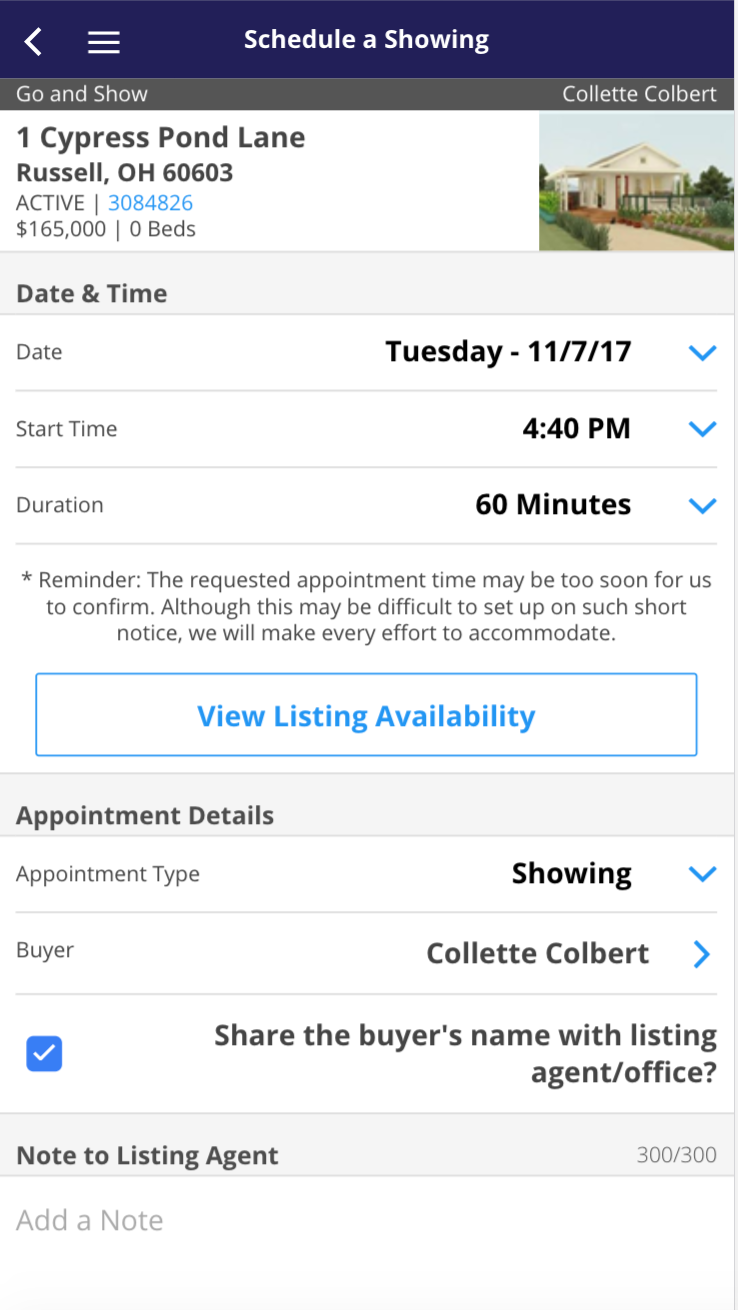
- Agent Information - You can quickly contact the agent from the appointment screen.
- Directions - Near the bottom of the appointment confirmation screen you will be able to see a map and tap on the directions to open it in your mobile devices default map.
- Listing Card - The address, state, and zip code of the listing appear to the left of the picture near the top of the confirmation screen.
- Appointment History - Getting a confirmation can be hard, the steps that go into the process can be used as metrics to provide your buyer with an idea of why an appointment may be declined or why the numbers slow down over time.
- Buyer Name - Optional - You can choose to share the Buyer's info with the listing agent.
- Notes - The buyer's agent can leave notes for you to see when requesting a showing. You can see these notes on the confirmation screens. This information is not shared with your seller.
Scheduling from a cancelled or declined appointment
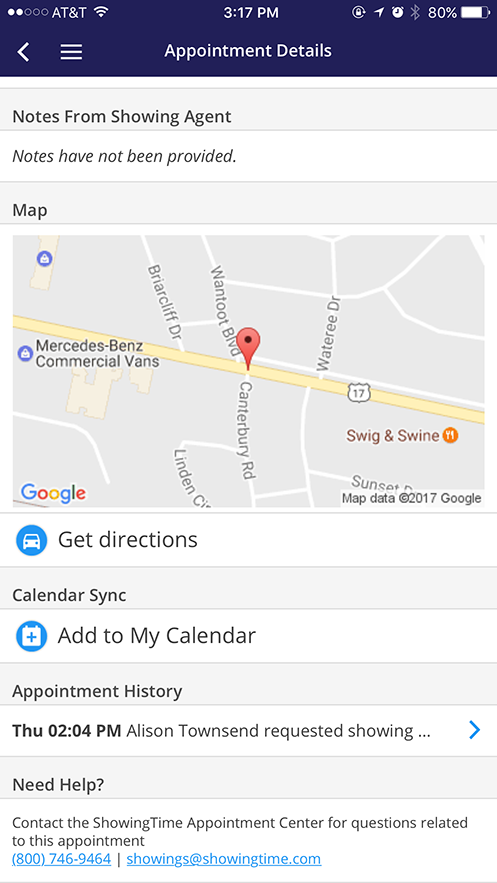
When your appointment has been cancelled or declined you can choose to schedule another appointment. From your mobile device, you can click the "Schedule a Showing" button from the appointment details.
Curb Showings
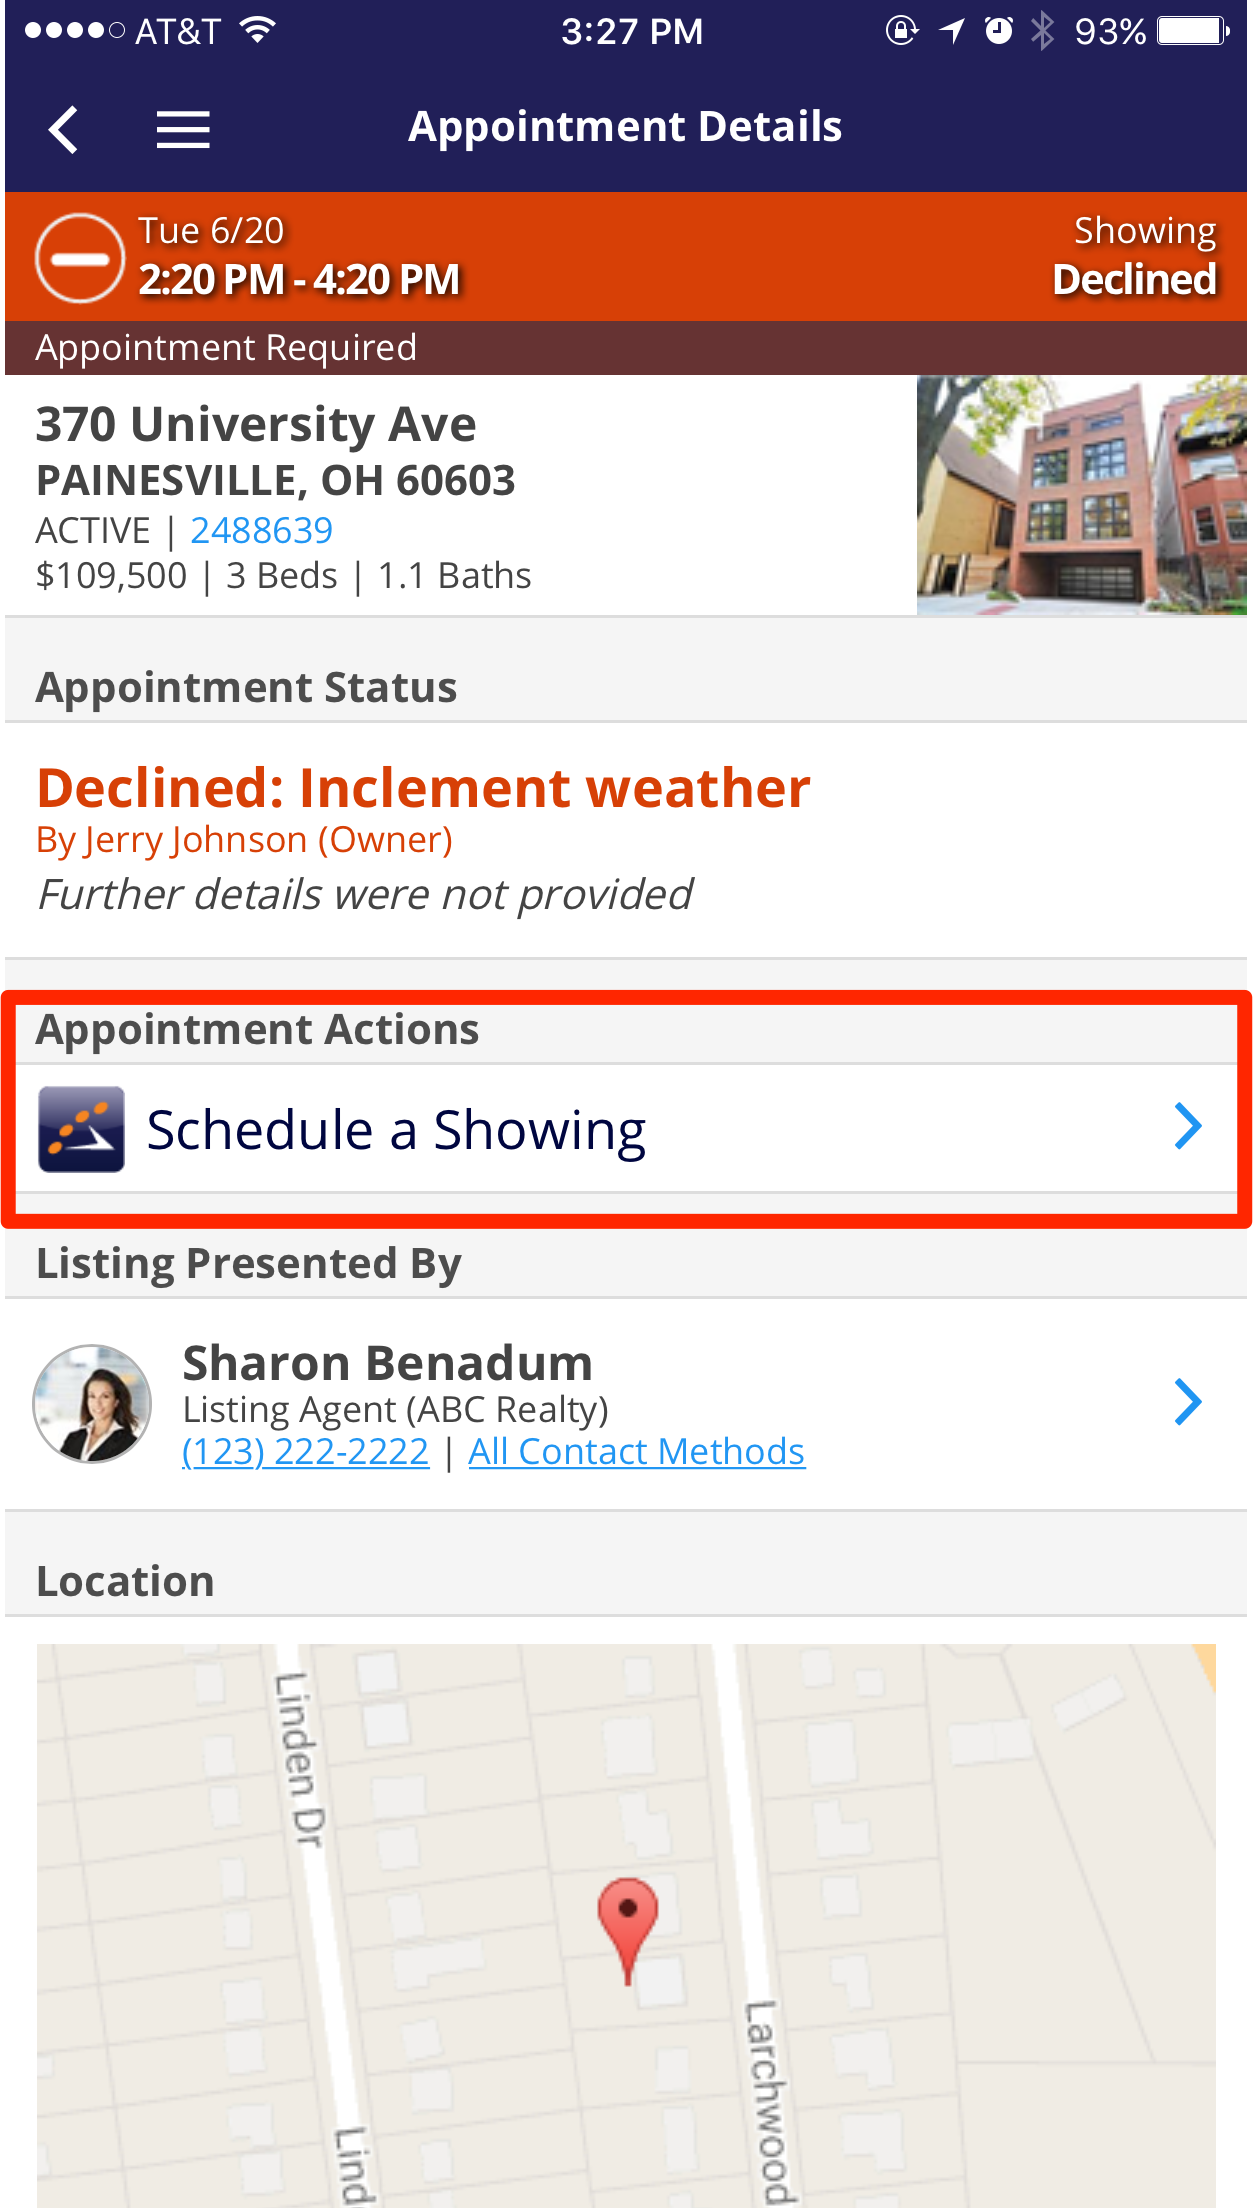
You may come across a listing while escorting your client between listings. This property may have something that your client is looking for, or you may just notice this property on your daily drive. You can schedule a showing (we call these Curb showings) right from the mobile app.
Step 1
Locate the listing in your nearby list from the app or search for the listing.
Step 2
Select the listing and Schedule as normal. You will have the option to assign a buyer if you want.
Step 3
Send the Request.
Note: Please be aware that curb showings may be too soon for a seller to respond to. Auto Confirm (Go and Show) listings are indicated in your app and are best for this type of showing.
When you receive confirmation, show the listing.


