Adding Buyers
Overview
Finding the perfect home for a buyer can take some time. Once the appointments are confirmed, and after the feedback has been submitted, it can be difficult to remember which homes were shown. ShowingTime’s new Buyer feature allows you to include your buyer's names when scheduling appointments or tours which allows you to quickly locate those listings to review when needed. A second showing in a different order than before can change opinions. And being able to connect all the listings with the buyers, can help you and your office discover trends that can lead to more sales.

A new client contact can be added as easily as typing their first and last name. This allows tracking of all the tours and individual appointments that you have shown to your client. We recommend that you enter the other details, to prevent confusion later. The email address, phone number, and any additional notes can be useful. Buyers can be added to individual appointments or Buyer's Tours when scheduling from your computer or mobile device.
Adding a Client to a Buyer Tour
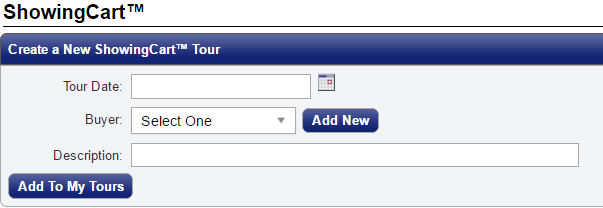
You can choose from an existing buyer or add a new one when setting up a tour (ShowingCart). Once you login to Front Desk, you can choose My Appointments from the top menu and Create a Buyer's Tour under the ShowingCart title. Beneath the Tour Date field, you can select a buyer by clicking in the box, or add one by using the Add New button.

The tour description will automatically become the buyer's name you entered or selected.
You can update this information at any time.
You can update this information at any time.
From Your Computer - Staff
You can choose from an existing buyer or add a new one when scheduling an appointment for your agents or on your office's listings. After you have selected the listing, showing agent, time and date, you can then enter the name of your new buyer or choose from the list of buyers you have already entered.

Note: The buyer’s details are only available to you as an agent. We do not share this information with anyone by default. You can elect to share the buyer's name with the listing office.
Some markets may require this information to be shared.
Some markets may require this information to be shared.
From your Mobile Device
Buyer information is automatically tracked for you in ShowingTime when you add a buyer to your showing request. Below are the steps to add your buyer to the system on either mobile or desktop, as well as how to access the logs.

Add a Buyer
- Select Schedule a Showing then search for the property you would like to show.
- When requesting the appointment through the ShowingTime app, the next screen asks you to add your buyer. If you have never added the buyer before, select New Buyer (on desktop, you pick your appointment time first, then add the buyer).
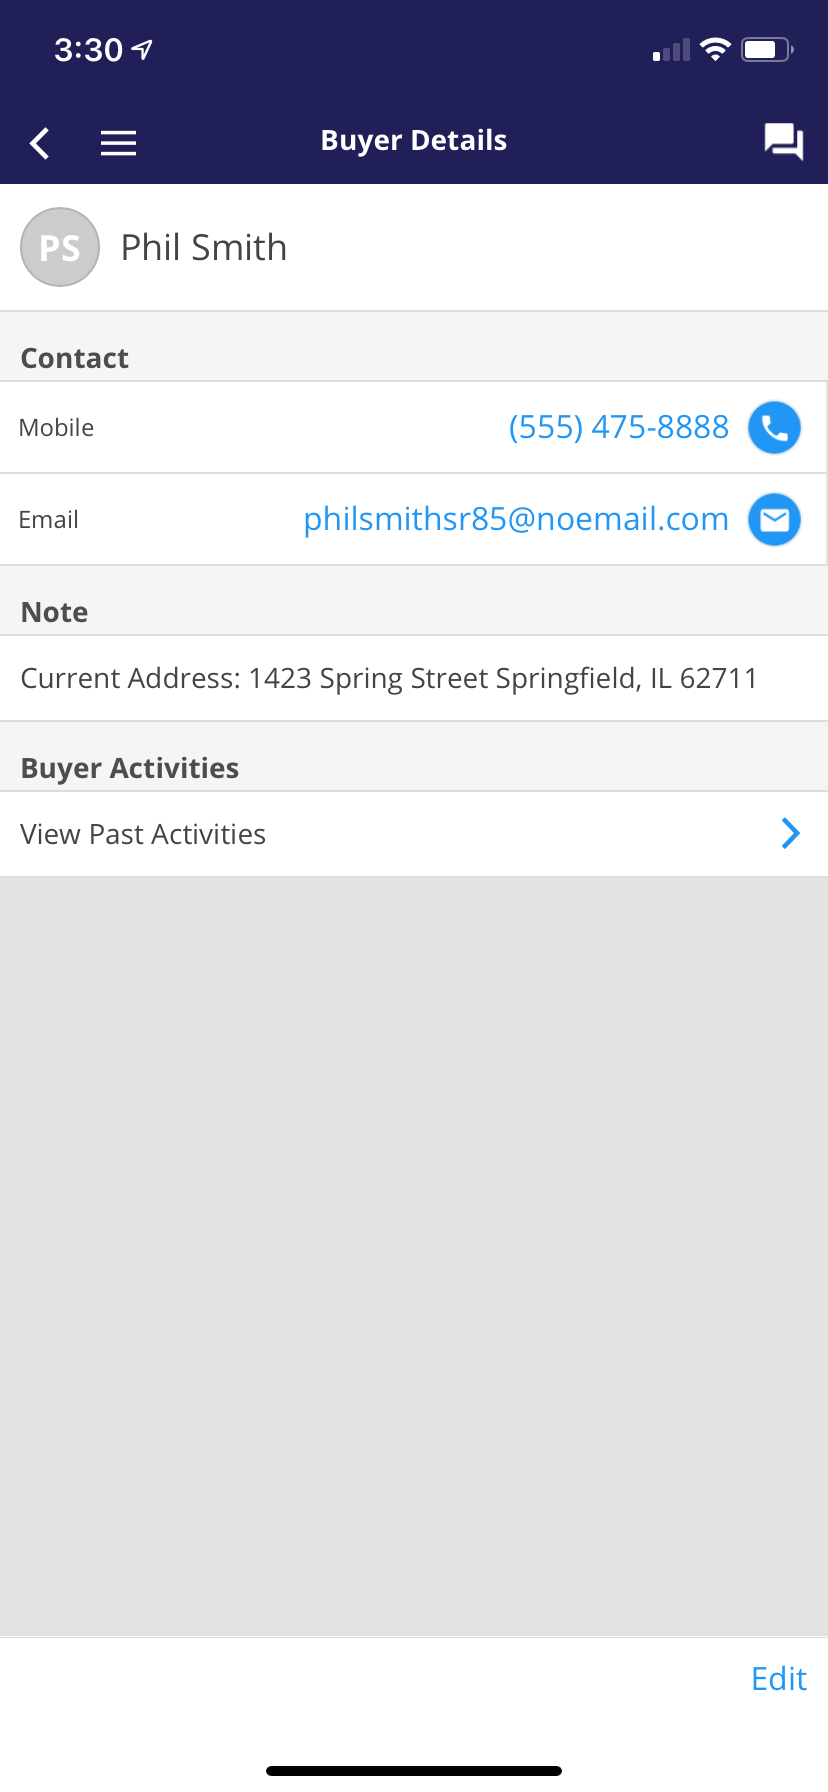
- When adding your buyer, make sure to include their name, email address and phone number. In the Notes section, we recommend adding the buyer’s current address, as that is required information for your log.
- Fill out additional showing details and request the appointment.
Access the Log

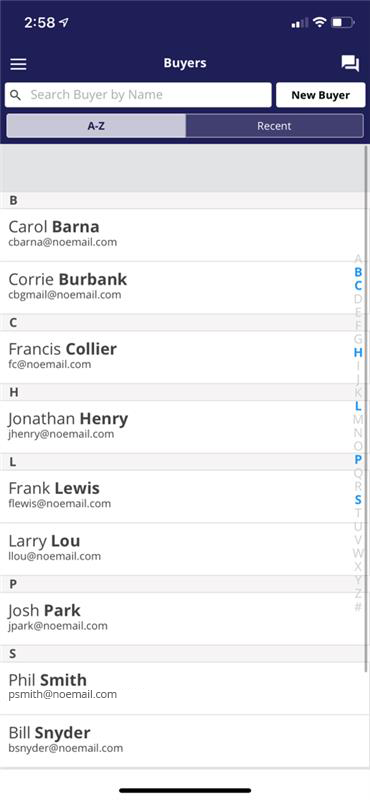
- Tap on Contacts in the ShowingTime app menu, you will find Buyers and Sellers (on desktop they are combined under My Clients).
- Here you can access all your buyers, their contact details, notes and past activities.
- Select View Past Activities to open all the buyer’s upcoming and past showing activity.
Members are advised to never forward ShowingTime notifications. Read more.
If you forgot to add your buyer to the showing request, that is not a problem, you can add them afterward as well.
Note: The buyer’s details are only available to you as an agent. We do not share this information with the co-op agent or anyone else.
You can update and review your Buyer Activity at any time.


